
Although I use solid-state drives (SSDs) heavily in my own environment, SSDs have always admittedly made me a little nervous. After all, the cells within an SSD can only endure so many write operations before they wear out and stop working. And when an SSD does eventually fail, the failure often occurs without warning (although there are sometimes subtle signs of an impending failure).
All this raises the question of how best to check an SSD’s health and predict its remaining longevity.
Use the Manufacturer’s Software
By far the best option for evaluating an SSD’s remaining lifespan is to use the software that has been supplied by the SSD manufacturer. Such software is proprietary in nature but has been designed to monitor an SSD’s health.
The PC that I am using right now is equipped with a Western Digital SSD. Western Digital offers a free SSD dashboard tool that can display health, performance, and diagnostic data for Western Digital disks. You can see what this software looks like in Figure 1.

Figure 1. The Western Digital SSD dashboard tool shows that my selected disk has 98% of its life remaining.
While utilities such Western Digital’s are helpful, it is important to keep in mind that they are proprietary. For example, the system that I am using contains three physical disks. Western Digital’s SSD dashboard displays information for the two Western Digital disks that are installed, but it does not even acknowledge that I also have an Intel SSD installed. Thankfully, vendors such as Intel, Samsung, and others offer similar utilities for retrieving SSD health information.
What Windows Can Tell You About SSD Health
Using proprietary software to check SSD health does present a problem. While the major vendors generally offer SSD utilities, it may be tough to get SSD health software for generic SSDs. This, therefore, raises the question of how much the Windows operating system knows about SSD health. In other words, is it possible check the health of your SSDs using only the tools that are baked into the Windows operating system?
Windows in fact gives you a few different ways to check SSD health. I will wrap up this article by showing you a couple of GUI-based options, then demonstrate PowerShell techniques in a separate article.
Your first option for gathering SSD health information is to use the Disk Properties sheet. This properties sheet doesn’t give you a lot of information, but it will typically tell you whether your SSD is healthy and how long it has been since the disk was trimmed. For those who might not be familiar with the term, trimming refers to the process of erasing data blocks on the disk that contain data that is no longer needed. Trimming can have a major impact on the performance of write operations.
If you want to check your SSD health and trim status, open File Explorer and go to This PC. Next, right-click on your SSD and select the Properties command from the shortcut menu. When the disk’s properties sheet appears, select the Tools tab and then click the Optimize button. This will take you to the Optimize Drives screen, as shown in Figure 2. As you can see in Figure 2, my C: drive is healthy and it has been eight days since the disk was trimmed.

Figure 2. The Optimize Drives screen displays some very basic health and trim information.
The information shown in the figure above is as much as you can get from the Windows 10 GUI. However, Windows 11 gives you access to more detailed information. To see the information that is available, open Settings and then click on System, followed by Storage. When you arrive at the Storage screen, expand Advanced Storage Settings, then click on Disks and Volumes, as shown in Figure 3.

Figure 3. Windows 11 offers several storage-related settings.
The Disk and Volumes screen shows some basic information, such as whether the SSD is healthy and a summary of the various partitions residing on the disk, as shown in Figure 4. However, there is more to this screen than meets the eye. If you click on the disk, a Properties button will appear, as shown in Figure 5. Clicking the Properties button takes you to a screen with detailed information about the SSD. In some cases, you can see things like the disk’s estimated remaining life and its temperature. You can see the disk properties in Figure 6.
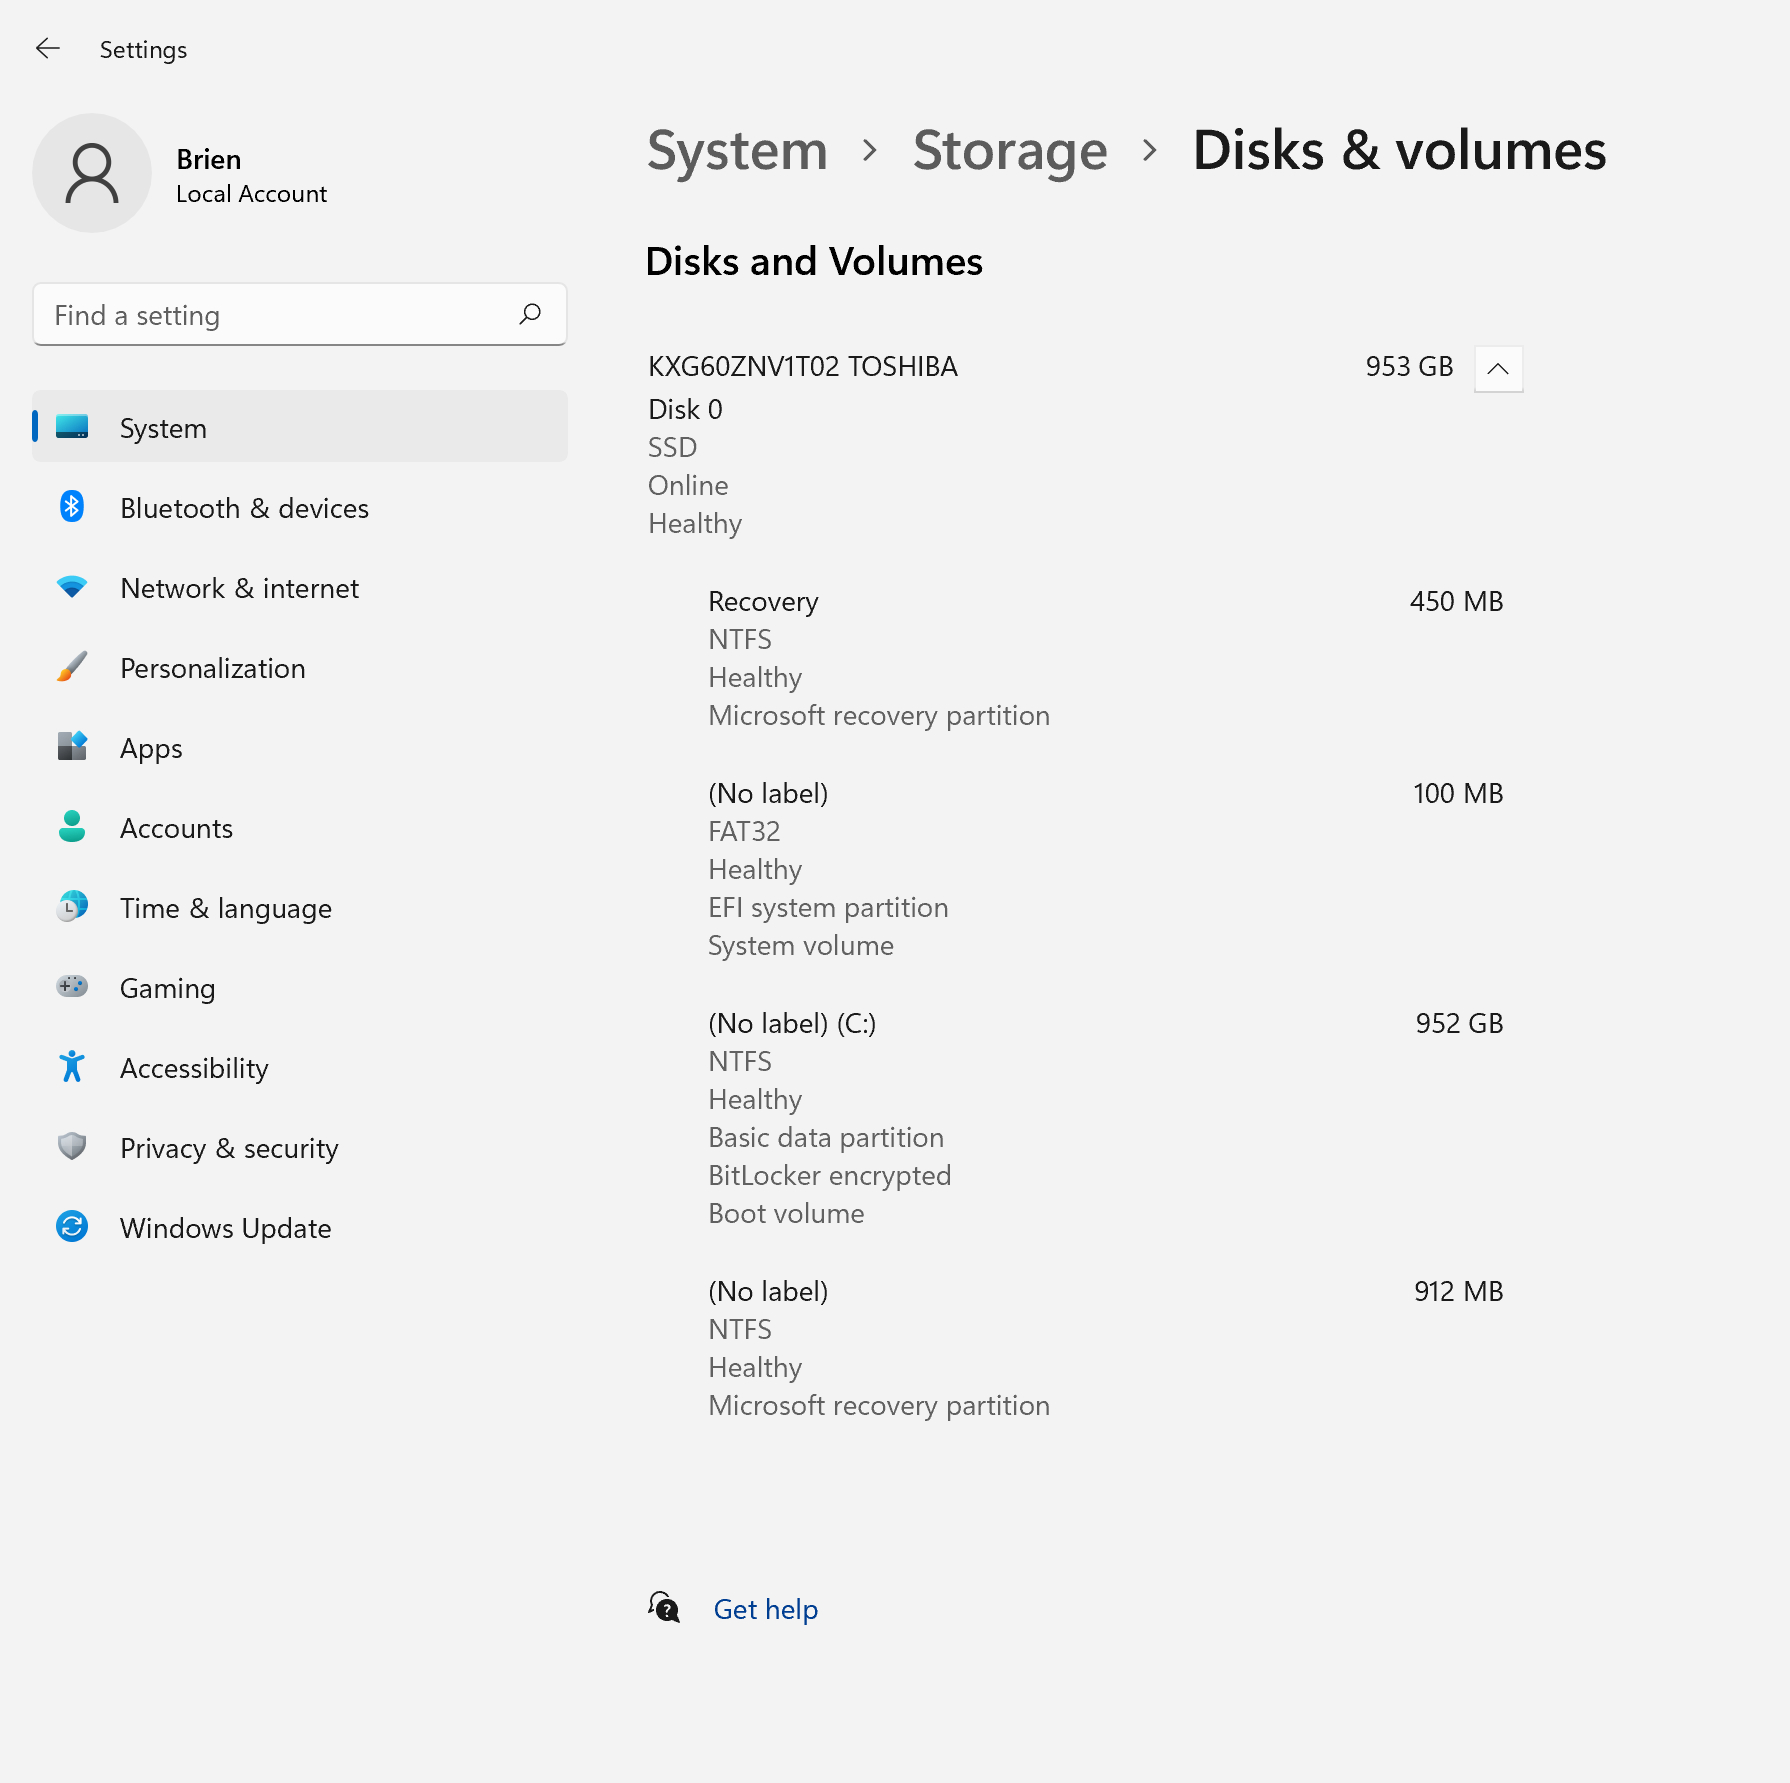
Figure 4. This is what the Disks and Volumes screen looks like.
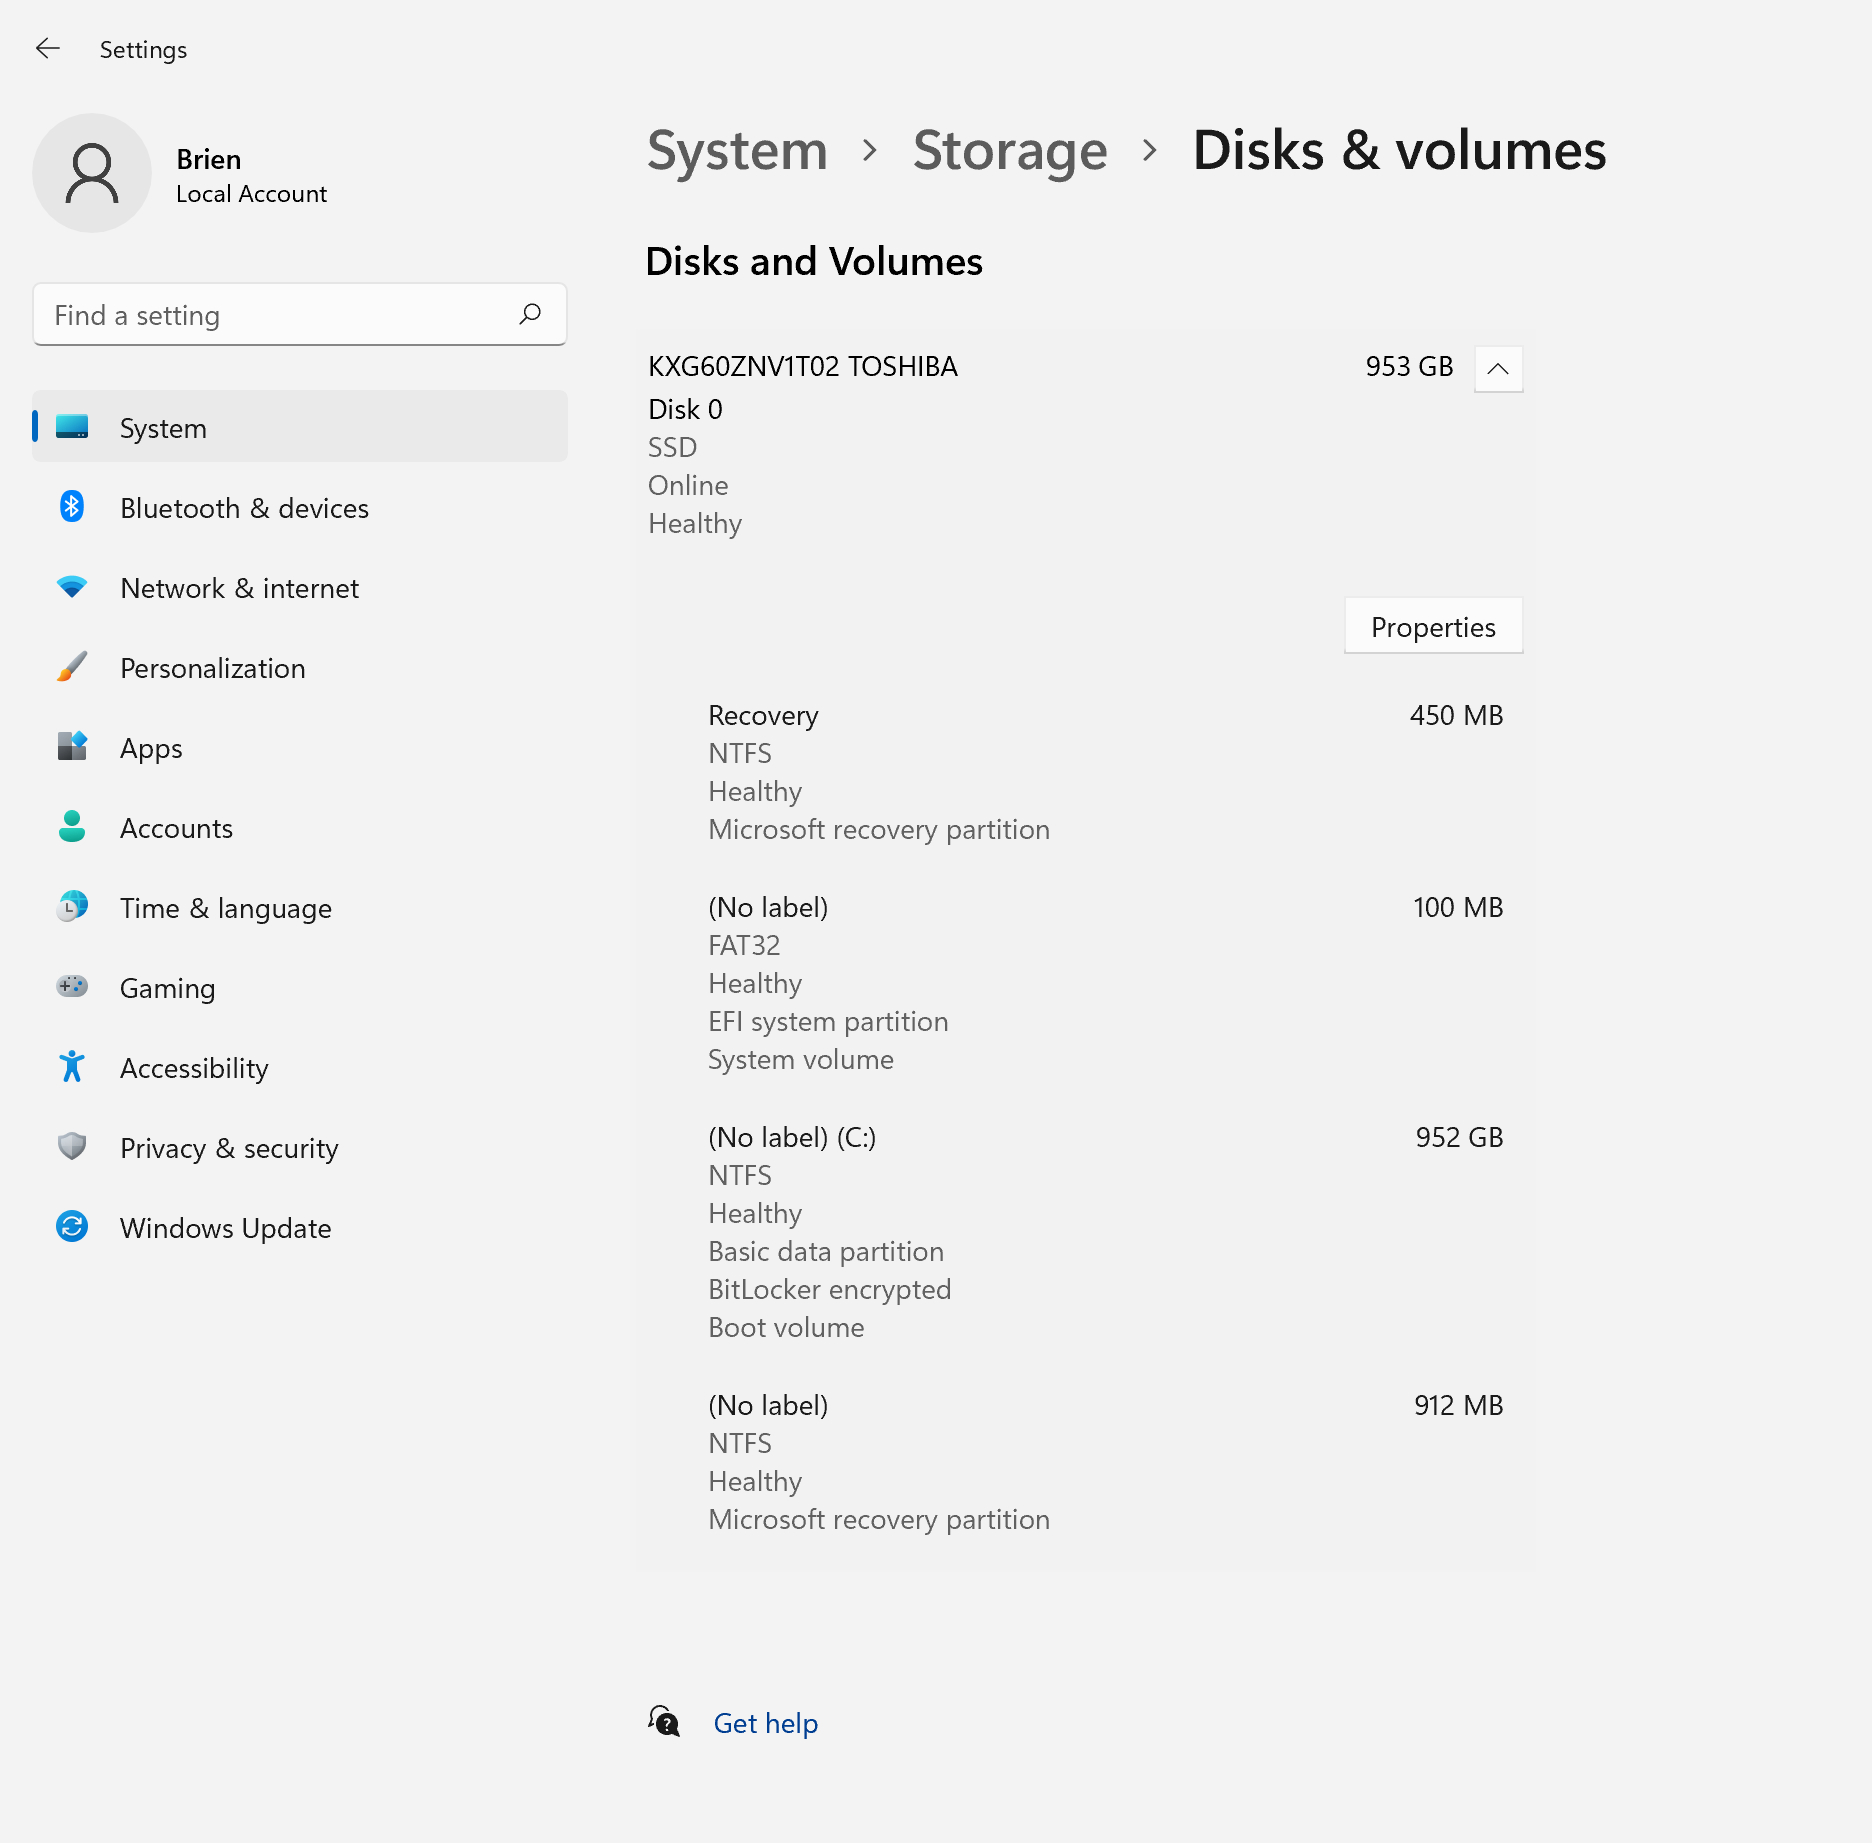
Figure 5. Clicking on the disk reveals a Properties button.

Figure 6. This is what the disk’s properties screen looks like.
As you can see, the Windows 10 GUI doesn’t give you very much information about your SSD, but Windows 11 does.


